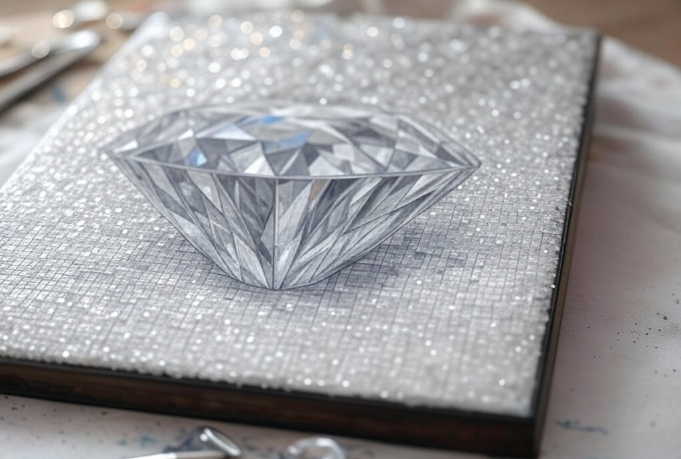
Starting a diamond painting project opens up a world of creative possibilities. These mesmerizing crafts transform simple canvases into sparkling works of art using tiny resin diamonds. A diamond painting project begins with a pre-adhesive canvas, diamond drills, and basic tools like an applicator and tray to organize the diamonds.
Crafters can expect to spend several hours immersed in this relaxing hobby as they place each diamond onto the corresponding symbols on the canvas. Working with colorful diamond painting kits provides a structured yet enjoyable creative outlet that suits both beginners and experienced artists alike.
The process is similar to paint-by-numbers but uses sparkling diamonds instead of paint to create the final image. Each canvas comes with a protective film that should be peeled back in small sections to maintain the adhesive quality while working on the project.
Key Takeaways
- Diamond painting requires minimal supplies and suits all skill levels
- Working in small sections helps maintain canvas adhesiveness
- The process creates dazzling artwork through systematic diamond placement
Getting Started with Diamond Painting
Diamond painting combines the precision of paint-by-numbers with the sparkle of mosaic art. The right setup and proper understanding of materials ensure a smooth start to this rewarding craft.
Understanding Diamond Painting Kits
A standard diamond painting kit contains several essential components: a pre-printed adhesive canvas with symbols, coloured resin diamonds (also called drills), an applicator pen, and a wax pad for picking up the diamonds.
The canvas features a coded design covered by a protective film. Each symbol corresponds to a specific diamond colour, similar to paint-by-numbers.
The diamonds come in two shapes: round and square. Round drills are easier for beginners, while square drills create a more complete coverage with no gaps.
The applicator pen works with the wax pad to lift and place diamonds. Most kits include basic tools, though experienced crafters often upgrade to ergonomic handles or multi-diamond applicators.
Preparation of Your Workspace
A clean, flat surface with good lighting forms the foundation of an efficient workspace. A table or desk near natural light works best.
Consider using a light pad beneath the canvas to enhance symbol visibility. This tool proves especially helpful during evening crafting sessions.
Store diamonds in labelled containers to prevent mixing. Small craft boxes or pill organizers work well for organizing the different colours.
Keep essential tools within reach: scissors for cutting protective film, tweezers for adjusting misplaced diamonds, and a small container to catch loose drills.
Protect your work area with a soft cloth or mat to prevent diamonds from rolling away. The cloth also reduces noise when handling the drills.
Tips and Techniques
Diamond painting success depends on proper tool handling, organized workspaces, and careful attention to detail. A systematic approach helps crafters achieve professional-looking results.
Applying Diamonds Effectively
Start with a clean, flat workspace and proper lighting. Square drills require more precision but create crisp edges, while round drills are easier to place and more forgiving for beginners.
Keep the protective film on unused sections of the canvas to maintain adhesiveness. Peel back only small portions at a time to prevent dust accumulation.
The diamond applicator pen works best when loaded with the right amount of wax. Replace wax regularly to maintain consistent diamond pickup.
Use a multi-placer tool for large areas of the same colour to speed up the process. Single-placer tools offer better control for detailed sections.
Mitigating Common Challenges
Eye strain is common during long painting sessions. Take regular 10-minute breaks every hour and maintain good posture.
Store drills in labelled containers to prevent colour mixing. Small storage boxes with multiple compartments work well for organizing diamonds by colour code.
Dropped diamonds can be retrieved easily by using a slightly damp cloth or specialized diamond painting roller.
Static electricity can make diamonds difficult to handle. A dryer sheet placed near the work area reduces static buildup.
Finishing and Displaying Your Artwork
Press completed sections firmly with a rolling tool to secure diamonds in place. Check for gaps or loose pieces before declaring the work complete.
Store leftover diamonds in labelled bags for future projects or repairs. Many crafters keep spare drills organized by colour code.
High-quality frames protect the artwork and enhance its appearance. Standard picture frames work well, but specialized diamond painting frames offer better protection.
Consider sealing the finished piece with a clear adhesive spray to prevent diamond loss. Test the spray on a small area first.
Conclusion
Diamond painting combines elements of paint-by-numbers and cross-stitch to create stunning mosaic artwork. The craft requires patience and attention to detail, but brings satisfaction as colourful resin diamonds transform a blank canvas into a sparkling masterpiece.
Starting with smaller projects and proper organization of materials helps beginners develop their technique. With the right preparation, tools, and mindset, anyone can enjoy this engaging art form.


